Enswitch - Update a User's Name
Learn how to easily change the name of an agent using Enswitch's web portal.
Table of Contents
Change a Name
There are four places that should be updated when a name is changed:
The Telephone Line's Name
The first section that will need the name adjustment is Telephone lines. To adjust the name shown for that user's telephone line…
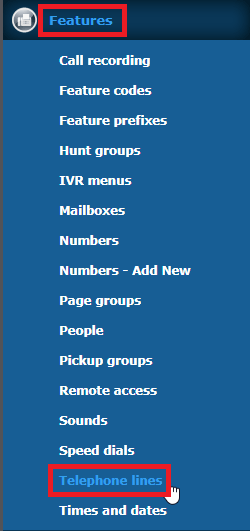
- Navigate to Features → Telephone lines.
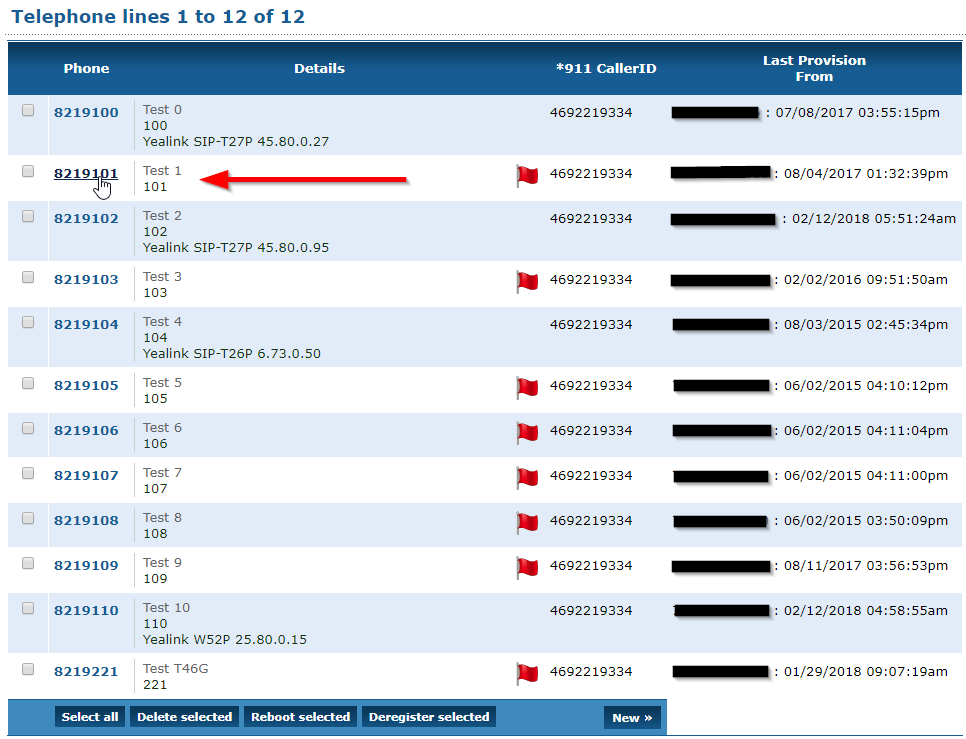
- In the Telephone lines menu, click the 7-digit Extension Number of the agent.
- In the Account settings section, type in the new name in the Description box.
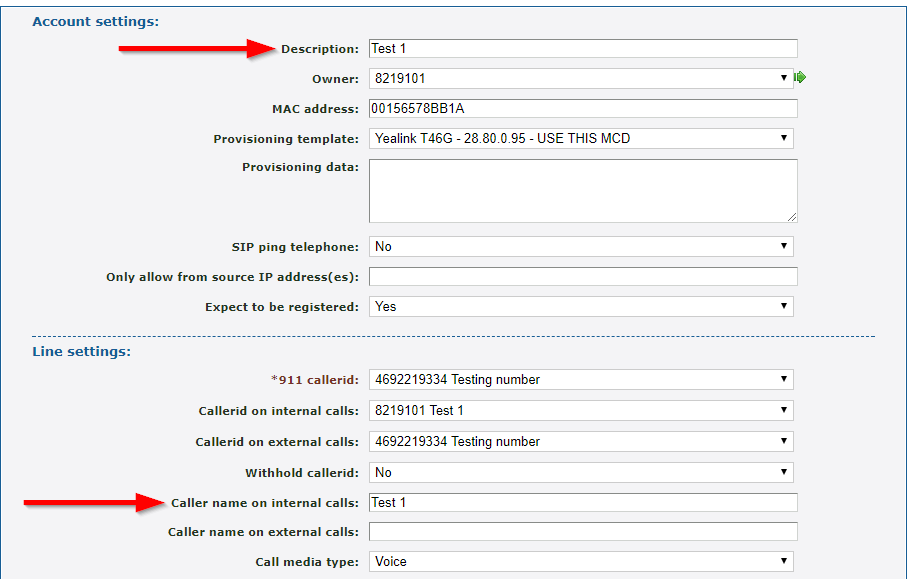
- In the Line settings section, change the Caller name on internal calls to match the new name.
- Scroll to the bottom of the page and click Save.
- Click Return to the list of telephone lines.

The User's Person Settings
After changing the user's telephone line settings, their Person settings should also be adjusted. To do so…
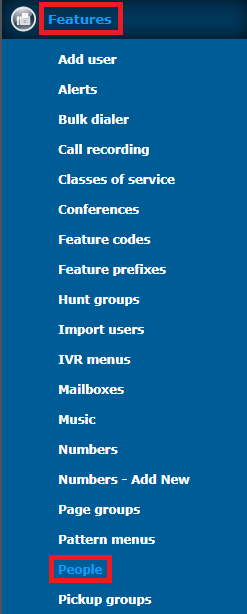
- Navigate to Features → People.
- Alternatively, you can click the green arrow
 icon next to the Owner box in the agent's Telephone line settings.
- Alternatively, you can click the green arrow
- Click the extension number of the agent.

- In the Person settings menu, update the First name and Last name boxes to match the new name.
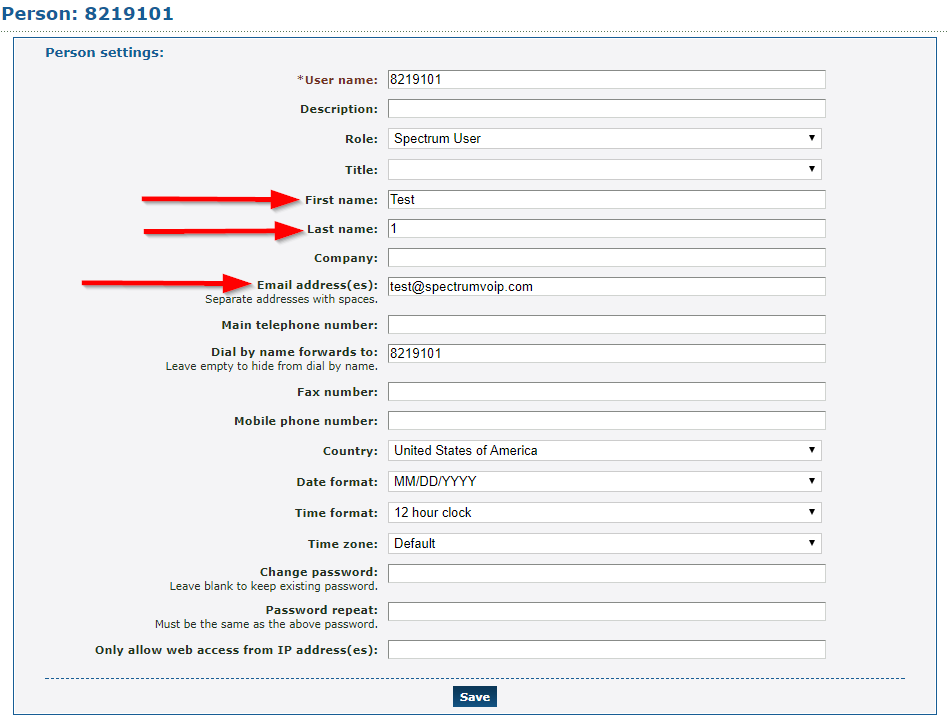
- If needed, type in the new user's email in the Email address(es) box.
Note: This email address is used for voicemail notifications (if enabled).
- Scroll down to the bottom of the page and click Save.
The User's Mailbox Name and Greeting
Whenever an extension's name has been updated, it is also recommended to update the extension's mailbox to ensure its name and greeting match the change. To do this…
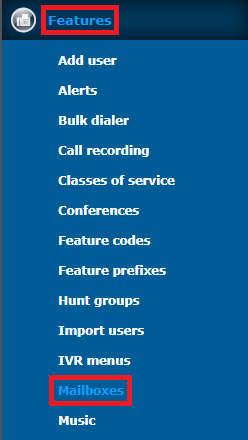
- Navigate to Features → Mailboxes.
- Click the 7-digit extension
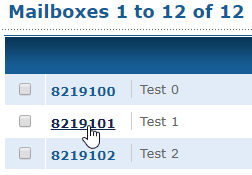
- Update the name typed in the Description box of the Mailbox settings.

- It is also recommended to update the user's voicemail greeting if they have a personalized one.

- Scroll down to the bottom of the page and click Save.
Rename the Speed Dial
If your business commonly uses speed dials to allow agents to reach other quickly, the name of the speed dial can also be adjusted. To do this…
- Navigate to Features → Speed dials.

- Click the number that is used as that agent's speed dial.
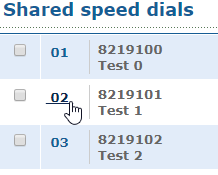
- Update the name shown in the Description box.

- In the Force caller name on calls from this destination box, type the new name.
- Click Save.
Complete the Name Change
To fully update the name shown on the new user's phone, the phone will need to reboot.
Quick Tip: To reboot a Yealink phone, you can hold down the X button until prompted to press OK to reboot.
The phones also automatically reboot after they check in at 11:59PM nightly to apply any needed updates.