Add More Emergency Numbers and Addresses
Review how you can add more Emergency Caller IDs and Emergency Addresses to your Stratus account using the Inventory page of the Stratus web portal.

Written by Val Campos
Updated at September 4th, 2025
As your business expands, it will become necessary to add or move around users and devices. These users and their devices will need Emergency Caller IDs and Emergency Addresses assigned to them. Doing so will ensure that if these users call 9-1-1, emergency services will be able to see who is calling and where they are located so that responders can be dispatched as quickly as possible.
Note: This guide will explore adding Emergency Addresses and Emergency Endpoints to Stratus accounts.
To learn how to assign Emergency Caller IDs and Emergency Addresses to users and devices, read the guide linked below:
Assign Emergency Caller IDs and Addresses
Add Emergency Numbers
To add more phone numbers to be selected as Emergency Caller IDs for users and devices, an Emergency Endpoint will need to be created.
An Emergency Endpoint will need to be created for each additional phone number that emergency services will see when a user or location calls 9-1-1. This Emergency Endpoint will also include the billing address information for the location/company.
To create an Emergency Endpoint…
1. Navigate to the Inventory page.![]()
2. Visit the Emergency Endpoints tab.
3. Click the Add Endpoint button. 
4. In the Add Endpoint menu, fill in the following information: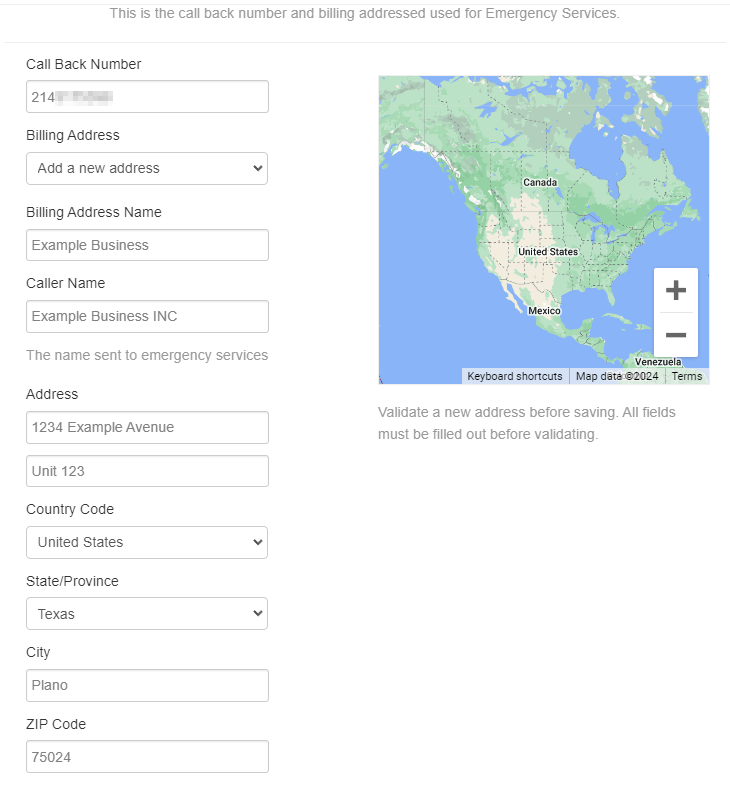
• Call Back Number - Type a phone number that emergency services can call back for this location.
Note: The phone number typed here will be selectable for the Emergency Caller ID option in the following sections.
• Billing Address - If setting up a new call back number with the same billing address as a previous endpoint, you can select it here. Otherwise, continue entering in address information for “Add a new address”.
• Caller Name - Type a Caller ID Name that emergency services will see, such as your company's name.
• Address - Type your company's billing address. The address that responders will see is added in Step 2.
NOTE: Make sure to not include common mistakes such as typos or leading spaces. The address will need to be Validated by clicking the Validate button.
5. Click the Validate button and make sure the validated address is accurate. ![]()
6. If the validated address is correct, click the Save button. ![]()
7. Repeat steps 3-6 for each location that has a different call back number and billing address.
Add Emergency Addresses
You can use the Emergency Addresses tab of the Inventory to check the different addresses emergency responders will be sent to. If you have multiple locations and offices, you can add those additional addresses as Emergency Addresses.
Add Addresses One-by-One
To add an Emergency Address for a location…
1. Navigate to the Inventory page.![]()
2. Go to the Emergency Addresses tab.
3. Click the Add Address button. 
4. In the Add Address menu, fill in the following information: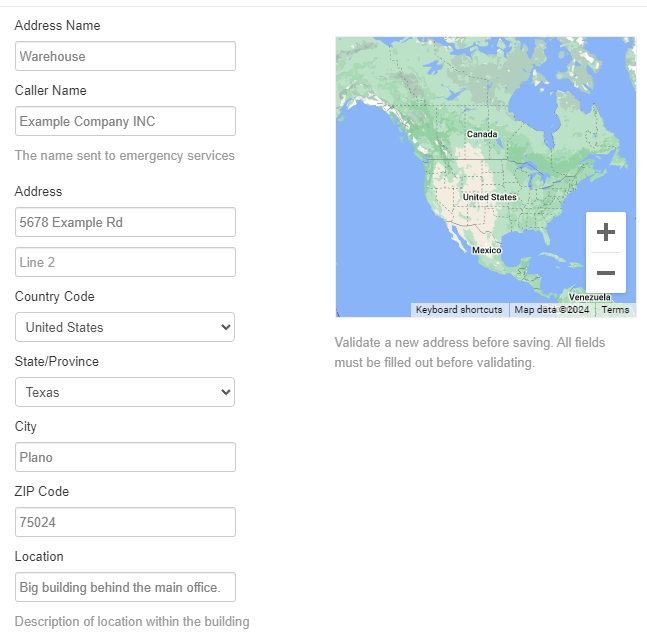
• Address Name - Type a label to be used to identify this address in the Emergency Addresses list.
• Caller Name - Type a Caller ID Name that emergency services will see, such as your company's name.
• Address - Type the address information of the location being added.
NOTE: Make sure to not include common mistakes such as typos or leading spaces. The address will need to be Validated by clicking the Validate button.
• Location - Type a brief note describing where the building/office is located.
5. Click the Validate button and make sure the validated address is accurate. ![]()
6. If the validated address is correct, click the Save button. ![]()
7. If needed, repeat steps 2-5 for each additional office/building.
Add Addresses in Bulk
If you have multiple locations with different addresses, you can import a spreadsheet of these locations and their address information. Doing so will allow multiple addresses to be validated and added at the same time.
To import multiple Emergency Addresses…
1. Navigate to the Inventory page.![]()
2. Go to the Emergency Addresses tab.
3. Click the Import button.
4. In the Import / Update From File menu, click the Download Template button.
✔ You should see a spreadsheet download in your web browser.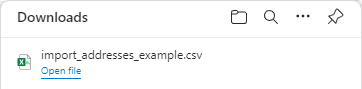
5. Open the spreadsheet and fill in the fields with each location's address information.
6. If you add the name of a Site or the extension number of a user in the user/site field, in the assign field, type yes.
7. When you are ready, save the spreadsheet.
8. In the Import / Update From File menu, click the Browse button.
9. Select the spreadsheet of addresses that was updated.
10. Click the Upload button. ![]()
11. On the Valid Addresses page, check that the updated addresses shown are correct.
12. When ready, click the Finish Import button. ![]()
✔ You should now see the addresses listed. These addresses can now be assigned to users, sites, and devices.

Note: If needed, you can contact our technical support team to have our team add Emergency Endpoints and Emergency Addresses for each of your business locations.